Configuring Network Boot on Fujitsu Primergy
|
AN!Wiki :: How To :: Configuring Network Boot on Fujitsu Primergy |
| Note: This mini-tutorial was written as a compendium to the Anvil! m2 Tutorial. |
This tutorial will show you how to boot a Fujitsu server off of a PXE server, as is often done when using a Striker dashboard as an install target.
Enter the BIOS
| Note: There may be slight variations in the appearance and layout of your BIOS, though you should have no trouble finding what you need. |

When you first power on a Fujitsu Primergy server, it will take a minute or so for anything to show on the screen. This is normal, particularly after AC was disconnected.
When it does show the first screen, you will see a prompt to press <F2> to enter the BIOS.
Press <F2> and then wait.
The machine will continue to boot, scanning the RAID controller in the process. Once done, it will enter the BIOS scree.

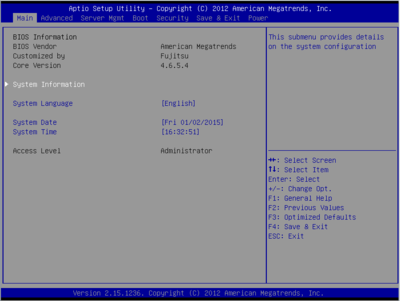
The first page you will see is the Main BIOS page.
Enabling 'PXE' (Network) Booting

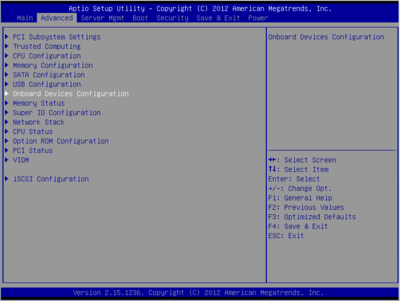
Press the '->' key to switch to the 'Advanced' page.
| Any questions, feedback, advice, complaints or meanderings are welcome. | |||
| Alteeve's Niche! | Enterprise Support: Alteeve Support |
Community Support | |
| © Alteeve's Niche! Inc. 1997-2024 | Anvil! "Intelligent Availability®" Platform | ||
| legal stuff: All info is provided "As-Is". Do not use anything here unless you are willing and able to take responsibility for your own actions. | |||
