Configuring Network Boot on Fujitsu Primergy
|
AN!Wiki :: How To :: Configuring Network Boot on Fujitsu Primergy |
| Note: This mini-tutorial was written as a compendium to the Anvil! m2 Tutorial. |
This tutorial will show you how to boot a Fujitsu server off of a PXE server, as is often done when using a Striker dashboard as an install target.
Enter the BIOS
| Note: There may be slight variations in the appearance and layout of your BIOS, though you should have no trouble finding what you need. |

When you first power on a Fujitsu Primergy server, it will take a minute or so for anything to show on the screen. This is normal, particularly after AC was disconnected.
When it does show the first screen, you will see a prompt to press <F2> to enter the BIOS.
Press <F2> and then wait.
The machine will continue to boot, scanning the RAID controller in the process. Once done, it will enter the BIOS scree.
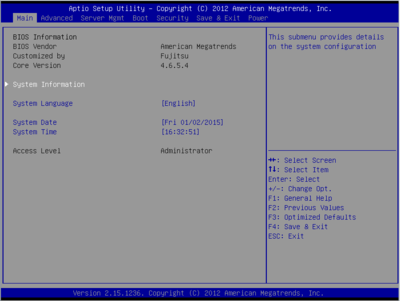
The first page you will see is the Main BIOS page.
Enabling 'PXE' (Network) Booting
Most Anvil! systems use three separate dual-port network cards. The first two ports are usually built into the server and the other two are add-in cards.
If you aren't sure which is which, you can simply enable all of them as bootable cards.
The goal of this tutorial is to make life easy, if not efficient, so we will cover how to enable all interfaces as bootable devices.
Enabling Booting from onboard NICs
| Note: To navigate the BIOS pages, use your left and right arrow keys. One you are on the page you want, press the up and down keys to moved between the items. Press '<enter>' to edit an item's value. |
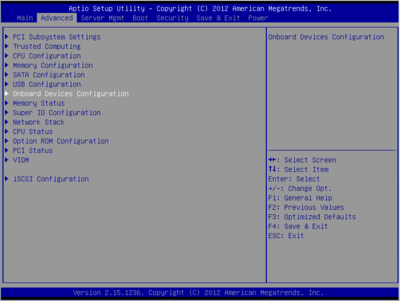
Press the 'right' arrow key to switch to the 'Advanced' page.
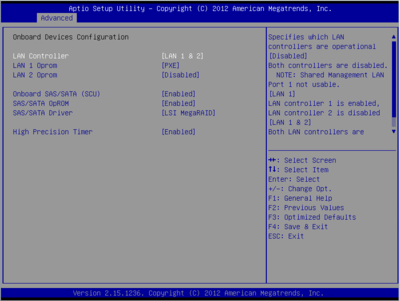
Press the 'down' key to highlight "Onboard Devices Configuration" and press '<enter>'.
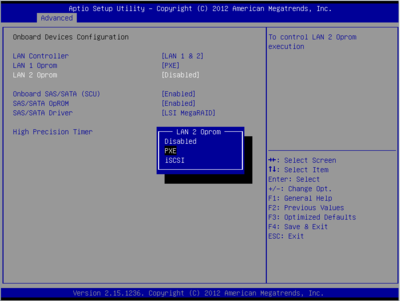
You will an option to enable or disable the onboard LAN (network) interfaces followed by an option to set if each is bootable and, if so, using what protocol.
Select each 'LAN X Oprom' that is not set to 'PXE', press '<enter>' and select the 'PXE' option. Press '<enter>' again to make the change.
Some trivia;
- Oprom is short for "Option ROM" (itself an acronym for "Read Only Memory) and is used by the hardware to determine where to look for bootable devices.
- iSCSI is a way to use raw storage from a device on the network as if it was a local hard drive. Setting a NIC to 'iSCSI' boot mode tells the system to reach out over the network to find its "hard drive" to boot from.
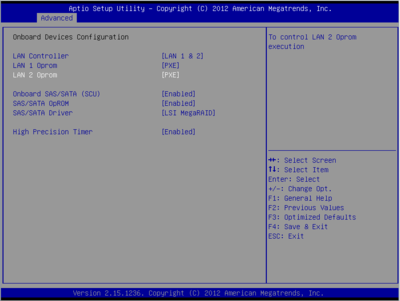
Now we can select either onboard interface to boot off of!
| Note: It's outside the scope of this tutorial, but if you have hardware RAID and no optical drive, you can disable the onboard SATA to reduce boot times. |
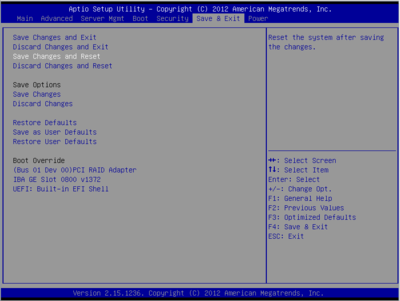
Now to save and exit.
Press the '<esc>' key to return to the 'Advanced' page and then use the right arrow key to navigate to the 'Save and Edit' page. Select 'Save changes and Reset' and press '<enter>'.
Enabling booting from add-in NICs
| Note: Most Anvil! systems use one of the onboard NICs for the connection to the Back-Channel Network, which is what we will use to boot the node off of the Striker dashboard. So for most people, this section is not needed. |
If you want to enable booting off of add-in network cards, you will need to tell the BIOS to look at them during boot.
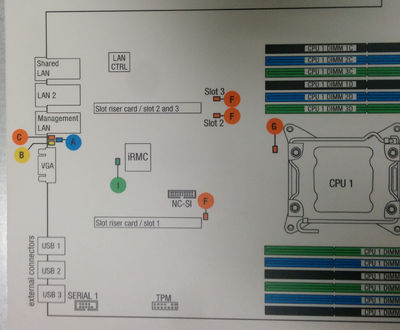
To do this, you need to know which PCIe slot the add-in card is plugged into. Depending on your hardware server model, this should either be stamped into the metal near each expansion slot and/or shown on a label inside the server itself.
Once you know which PCIe slots your add-in network cards are in, you're ready to enable them!
Boot the computer and press <F2> to go back into the BIOS as before.
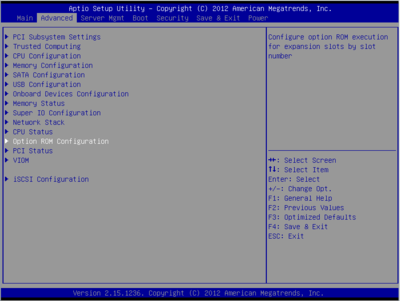
Navigate to the 'Advanced' menu and go down to the "Option ROM Configuration" item and press '<enter>'.
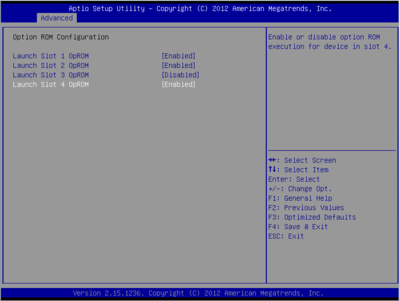
Change the 'Launch Slot X OpROM' to 'Enabled' for the slots with NICs installed in them.
Once done, as above, press '<esc>' to return to the 'Advanced' menu, then use the arrow keys to go to the 'Save and Exit' page and then choose the 'Save changes and Reset' option.
Booting from the network
| Note: The screen prompting for you to press '<F12>' to select boot might pass quickly. You can start pressing '<F12>' before seeing the prompt and it will still provide the boot selection menu. |
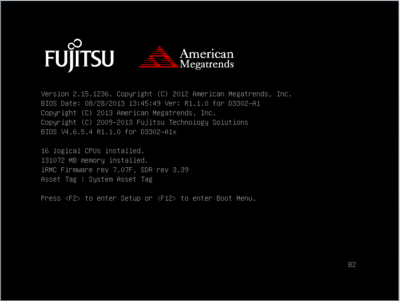
During the boot of the machine, you will see a prompt to press '<F12>' to "enter Boot Menu".
Press '<F12>' and then wait. The machine needs to scan a few things, like the RAID controller, before the boot device selection window appears.
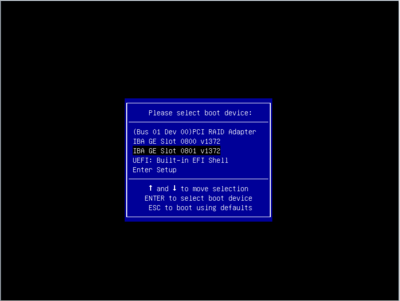
And there you have it!
From here, you can pick up what to do next back at the main tutorial:
| Any questions, feedback, advice, complaints or meanderings are welcome. | |||
| Alteeve's Niche! | Enterprise Support: Alteeve Support |
Community Support | |
| © Alteeve's Niche! Inc. 1997-2024 | Anvil! "Intelligent Availability®" Platform | ||
| legal stuff: All info is provided "As-Is". Do not use anything here unless you are willing and able to take responsibility for your own actions. | |||
